Bullet Time : Multi Angle Camera Render Script and Tutorial Set
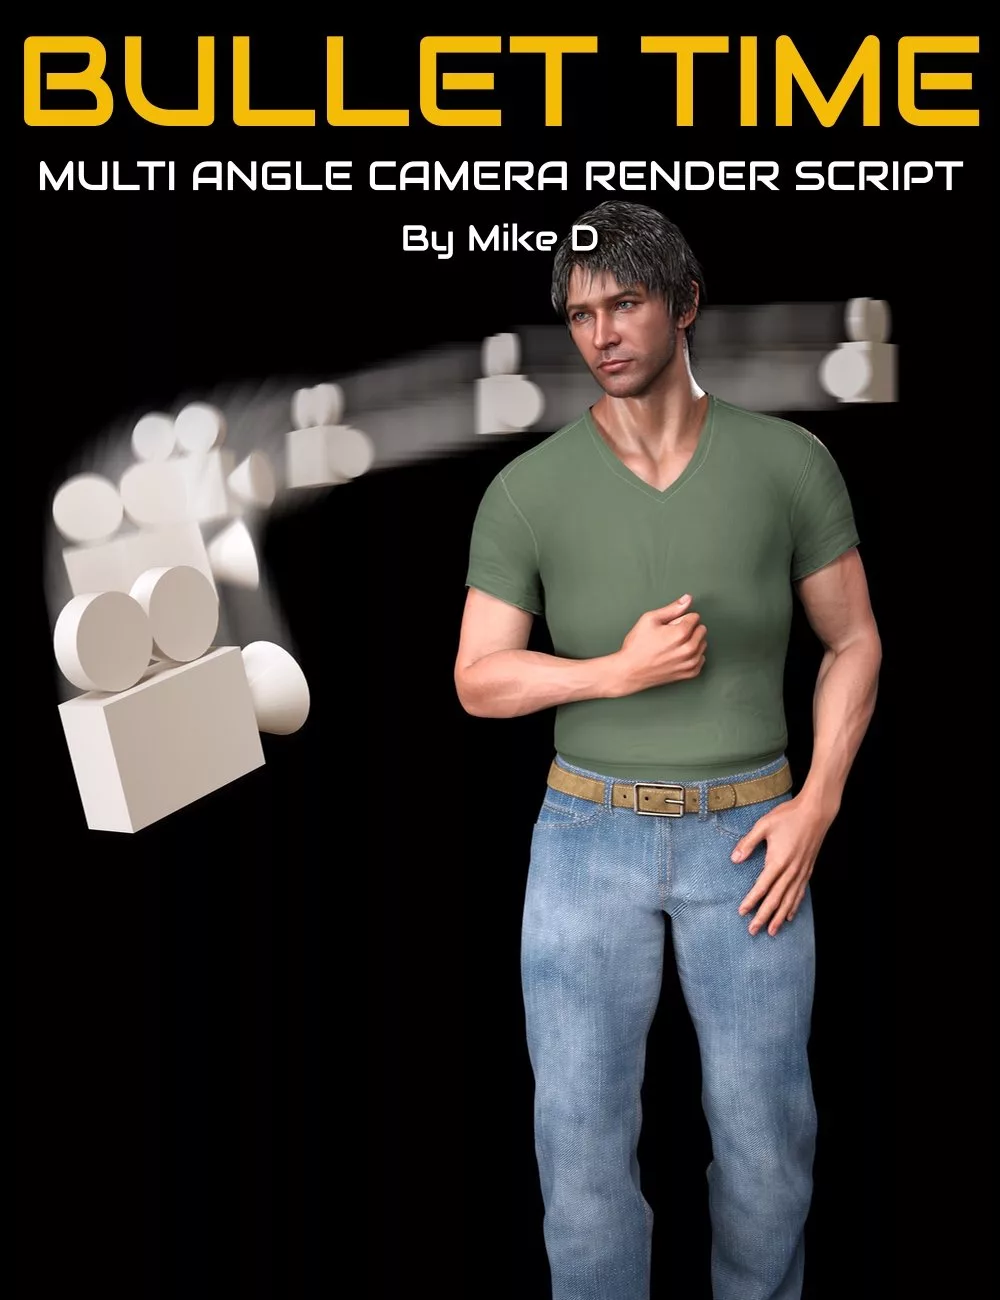
This product is not just a time-saving utility; it's also an educational experience. It includes a detailed video tutorial that walks you through how the script was built, line by line. Whether you're rendering simple scenes or complex promotional materials, this script can handle it all, from creating dynamic crowds (think billboards) to displaying a wearable from every angle. With the “Multi-Angles Render” script, you can focus more on creativity and less on the mechanics of rendering.
What you'll learn about script building from this project:-
1. Understanding Scene Hierarchy: Learning to navigate and manipulate the scene hierarchy, identifying root and child nodes.
2. Scripting Fundamentals: Grasping the basics of DAZ Script, including loops, conditionals, and function creation.
3. User Interface Design: Developing skills to create and manage custom user interfaces within DAZ Studio scripts.
4. File I/O Operations: Handling file input/output operations, including reading, writing, and checking for file existence.
5. JSON Configuration: Utilizing JSON for saving and loading script configurations, enhancing user experience.
6. Rendering Automation: Automating the rendering process through scripting, allowing for batch processing of multiple angles.
7. Signal Handling: Learning to use signals to manage render states and respond to user actions like a cancellation.
8. Debugging Practices: Developing effective debugging strategies to identify and resolve issues in the script.
9. Memory Management: Ensuring proper memory handling, especially when dealing with file objects.
10. Code Management: Regularly saving work to prevent data loss, and understanding the importance of code attribution and licensing.
Recommendation
If you haven't scripted before, our product "Beginner's Guide to Scripting in DAZ Studio" would be a good foundation for this tutorial set.
Total Running Time and Video Format
Total running time : 4 hours and 2 minutes
4 x MP4 videos at 1920 x 1080 HD resolution.
Searchable versions of videos recorded : search on any keyword or phrase throughout the video set.
Multi Angle Camera Render Script
Select angles of currently selected figure/asset will be rotated
Select format of render (PNG/JPG)
Select prefix of the filename and destination folder
Video Part 1 – How the Script was built : 1 hour and 54 minutes (.MP4)
00:06 Importance of checking for the existence of a skeleton when selecting a node in DAZ Script.
00:07 Handling null objects and ensuring the root skeleton is correctly identified.
00:08 Distinguishing between root and child nodes in the scene hierarchy.
00:10 Usage of 'while' loops to navigate up the hierarchy to find the root node.
00:12 Utilizing the 'isRootNode' method to check if a node is the top-level node.
00:13 Implementing a boolean variable to control while loop execution.
00:15 Assigning the parent node if the current selection is not a root node.
00:17 Caution against infinite loops in while statements.
00:18 Saving the script frequently to avoid data loss.
00:19 Building the user interface dialog and copying code from examples.
00:21 Declaring working variables at the start of the script for efficiency.
00:23 Executing the script to test the dialog with only buttons.
00:24 Using arrays to specify angles for rendering.
00:25 Creating widget containers for organizing UI elements.
00:27 Assembling widgets for the destination folder path in the UI.
00:29 Discussing alternative layout options for custom widget placement.
00:31 Labeling in the UI for clear communication with users.
00:33 Incorporating a line edit for the destination path and setting it to read-only.
00:37 Implementing a button to browse for folders in the UI.
00:39 Organizing code for file name input in the UI.
00:41 Using horizontal groups to arrange labels and line edits horizontally.
00:44 Introducing combo boxes for file extension selection.
00:46 Dynamically filling combo box options from an array.
00:51 Challenging viewers to think about dynamically generating checkbox widgets.
00:53 Using group boxes to organize checkboxes and control layout with columns.
00:55 Storing checkbox widgets in arrays for dynamic UI generation.
00:58 Using for loops to create and manage an array of checkboxes.
01:00 Handling DAZ Studio crashes and the importance of saving work.
01:02 Restoring the script environment after a crash.
01:04 Ensuring checkboxes reflect the array of angles correctly.
01:07 Adjusting the user interface size for better visibility of path inputs.
01:09 Planning to use configuration files to save and load user settings.
01:11 Introduction to using JSON for configuration data.
01:14 Creating an object to hold configuration settings.
01:17 Getting the script's current directory for default settings.
01:19 Debugging by printing out directory paths.
01:21 Planning to delete file objects to prevent memory leaks.
01:26 Saving configuration data to a file.
01:30 Explanation of JSON stringify and its arguments.
01:54 Recap of session progress and plans for the next session.
Video Part 2 – How the Script was built : 57 minutes (.MP4)
00:00 Starting the session by reviewing previous work on the configuration object and UI dialog creation.
00:02 Discussing the creation of a function to load the configuration file from disk.
00:04 Changing the file opening mode from writing to reading to load configurations.
00:06 Using JSON parsing to convert the read data into a usable object.
00:09 Adding a check to see if the configuration file exists before attempting to load.
00:11 Handling the scenario where the configuration file does not exist by notifying the user and returning false.
00:14 Outlining the process for creating a new configuration file if one doesn't exist.
00:17 Updating UI widgets with values from the configuration file.
00:20 Setting up the combo box to reflect the selected file extension from the configuration.
00:23 Connecting the browse button to a function for directory selection.
00:25 Implementing the directory dialog function to allow users to choose a folder.
00:29 Updating the configuration file and UI with the new path selected by the user.
00:33 Adding accept and cancel button text to the UI dialog.
00:35 Explaining the use of QSTR for setting keyboard shortcuts for UI buttons.
00:38 Preparing to save configuration settings when the user initiates a render.
00:41 Planning to copy original render settings before changing them for rendering.
00:44 Exploring the RenderManager object to manipulate render settings.
00:47 Accessing and copying current render settings to a new object for later restoration.
00:51 Changing specific render settings for the rendering process.
00:57 Finalizing the main skeleton of the script to handle rendering and restoring settings.
Video Part 3 – How the Script was built 1 hour : 4 minutes (.MP4)
00:01 Creating a new function to render all selected angles.
00:02 Assigning configuration properties to new variables for use within the script.
00:03 Adding an underscore to file prefix if it's not present for file naming consistency.
00:05 Retrieving the Y rotation property from the selected item for manipulation.
00:07 Saving the original value of the item's rotation to restore after rendering.
00:11 Iterating over angle checkboxes to render only the checked angles.
00:15 Developing logic to apply new rotations and file names for rendering.
00:17 Introducing a check to see if the render has been cancelled by the user.
00:21 Using string formatting to construct the file path with angle values and file extensions.
00:24 Creating a function to handle rendering for each angle individually.
00:27 Checking for the existence of render files before overwriting.
00:31 Implementing a user prompt to confirm file overwrite if render files exist.
00:35 Handling the user's decision on file overwrite and aborting if necessary.
00:37 Deleting existing render files if the user opts to overwrite.
00:41 Setting the new file name in the render options before starting the render process.
00:42 Using a signal to determine if the render has been finished or cancelled.
00:46 Establishing a function to handle the 'render finished' signal.
00:49 Setting up a loop to allow cancellation during the render process.
00:53 Determining if the entire rendering process has been aborted by the user.
00:55 Returning a boolean from the render function indicating if rendering was aborted.
00:57 Breaking out of the rendering loop if the last render was aborted.
Video Part 4 – How the Script was built : 7 minutes (.MP4)
00:01 Debugged 'redrawSelectedAngles' within the checkbox loop, resolving incorrect argument issues.
00:03 Fixed argument error, enabling successful script execution for initial selected angles.
00:05 Validated overwrite prompt of the script with prior rendered angles; continues render on 'Yes'.
00:06 Refined script by removing debug code, fixing an angle array, and adding an MIT license credit.
Documentation: MultiAnglesRenderSearchableVersion (.PDF)
Link to the searchable version of this tutorial set






Request to unfreeze file (404 Not Found)
You must be logged in to post a comment.