The Power of AniMate 2 : Animating with Precision in DAZ Studio
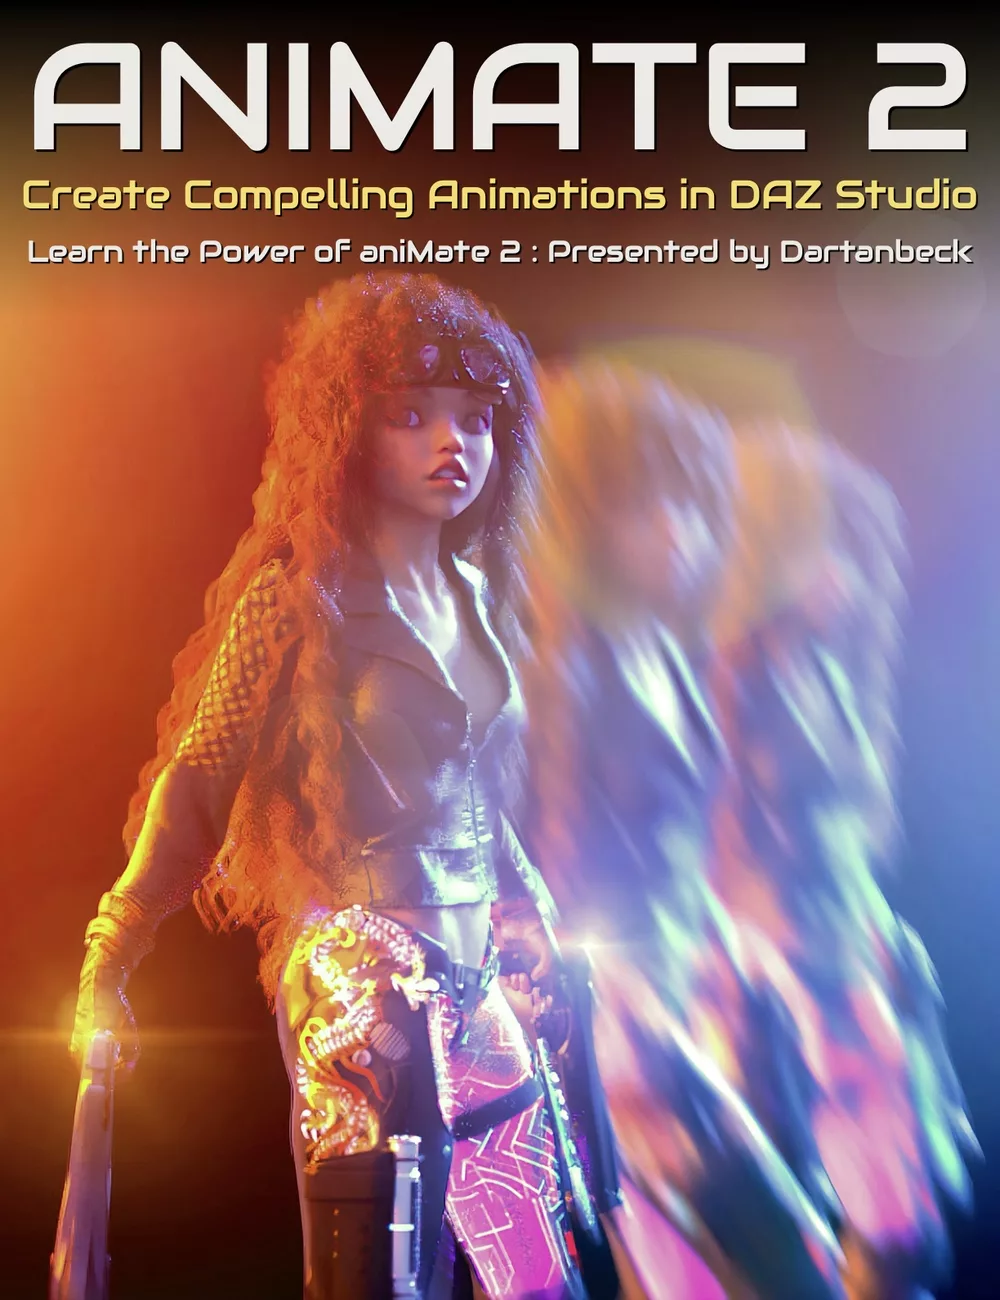
Let’s get focused on mastering “aniMate 2” in DAZ Studio! AniMate 2 combines a user-friendly interface with sophisticated features, making it a valuable and core tool for animating your visual stories. Dartanbeck uses AniMate 2 at the heart of his workflow and reveals in this tutorial set how to make the most of this and other hyper-useful tools such as LimbStick, Bone Minion and Mixamo for effective animation storytelling in DAZ Studio.
This tutorial set by Dartanbeck is for you if…
- You’re interested in uncovering the hidden and often overlooked powerful features of aniMate2, enhancing your animation capabilities in DAZ Studio.
- You want to learn how to efficiently use aniBlocks, including advanced techniques like trimming, blending, and customizing motion paths for more dynamic animations.
- You’re keen on exploring the vast potential of aniBlock packs, cross-generation animation conversion, and integrating unique movements for characters and vehicles.
This is for you if you want to accomplish:
- Making the most of aniMate2, ensuring a solid foundation for creating professional and intricate animations in DAZ Studio.
- Expanding your creative horizons by learning how to modify and combine aniBlocks, achieving impressive new motions and animations.
- Gaining expertise in leveraging specialized tools and resources like Motion Captured Animations, LimbStick, Bone Minion and more, to elevate your animation projects
Total tutorial set running time :5 hours and 1 minute
Required for this Tutorial Set
aniMate2 is a key part of the workflow demonstrated in this course and is required.
Recommended for this Tutorial Set
Bone Minion by RiverSoft Art
LimbStick by 3D Universe
Daz Studio Animation Tools – Set 1 by 3D Universe (for use with Mixamo downloads)
In this tutorial set you’ll learn:
- Applying aniBlocks to figures and adjusting animations with precision, focusing on detailed character interactions like holding a pistol.
- How to utilise Bone Minion for pose conversion, enabling users to set up and refine object interactions within their animations.
- Techniques for fine-tuning animations are demonstrated, including limb stick adjustments, facial animation customization, and the use of various tweeners for smooth transitions.
- Learn how to manipulate aniBlocks for specific effects like reversing, mirroring, trimming, and combining different blocks for complex animations.
- Gain insights into creating custom aniBlocks, saving them for reuse, and adjusting keyframes within DAZ Studio’s timeline.
- Mixamo animations and their integration with DAZ Studio are explored, highlighting the process from importing and applying animations to baking them for further editing.
- The course delves into the utility of tools like the LimbStick plugin for precise control over character interactions and the graph editor for advanced animation adjustments.
- Techniques for rendering animations within DAZ Studio are taught, including the use of shadow capture and Iray reflections to create realistic scenes.
- You’ll see the use of HDRI for character renders, grasping the importance of scene setup and camera angles for animation realism.
- AniMate 2’s flexibility is highlighted through its ability to speed up, reverse, and modify animations, enabling the creation of dynamic and realistic sequences.
- You’ll be shown how to use partial aniBlocks for customizing movements and the significance of baking keyframes to refine animations further.
Bonus content includes converting entire walk construction kits for different figures and creating icons for aniBlocks.
-
- 00:00 Introduction to Animate 2’s capabilities and applying aniBlocks to Genesis 3 female pose.
- 02:00 Explanation of bone minion feature for pose conversion and initial object interaction setup.
- 04:00 Adjusting arm motions and preparing for character interaction with a pistol.
- 06:00 Introduction of a left-hand pistol for the animation and custom icon discussion.
- 08:00 Refinement of hand animations for gun grasping using Genesis and custom dials.
- 10:00 Detailed adjustments to fingers positioning for holding the gun.
- 12:00 Finalizing hand pose with the gun and keyframe adjustments in Animate 2.
- 14:00 Setup of the parent constraint feature for enhanced animation control.
- 16:00 Demonstration of parent constraint functionality and animation preview.
- 18:00 Camera angle setup and introduction of additional scene elements.
- 20:00 Discussion on animation techniques involving the parent constraint tool.
- 22:00 Animation setup with character leaning against a car and limb stick adjustment.
- 24:00 Utilizing Limbstick for arm animation adjustments and facial animation customization.
- 26:00 Showcasing facial animation enhancement using aniBlocks and Limbstick utility.
- 28:00 Overview of various aniBlocks from BoneTech3D available at Daz3D.
- Video Part1b : 1 hour and 9 minutes (.MP4)
- 00:00 Introduction to AniMate 2 in DAZ Studio and overview of aniBlocks.
- 02:00 Explanation of keyframes, tweeners (TCB, constant, linear), and their effects on animation.
- 04:00 Discussion on the use of keyframes for joint manipulation and animation techniques beyond joint rotations.
- 06:00 Detailed process of baking aniBlocks to studio keyframes and exploration of motion capture data.
- 08:00 Demonstration of extending and modifying aniBlocks, such as adjusting walk speed by stretching keyframes.
- 10:00 Explanation of aniBlock manipulation, including reversing, mirroring, and trimming.
- 12:00 Combining different aniBlocks and adjusting foot weighting using reorient start menu.
- 14:00 Techniques for positioning animations within the scene using the animate tool and start circles.
- 16:00 Discussion on differentiating character motions and using the mirror aniBlocks feature.
- 18:00 Q&A session addressing various features of AniMate 2 and their applications.
- 20:00 Creation of custom aniBlocks from studio keyframes and saving them in the DAZ library.
- 22:00 Overview of the conversion process from motion files to aniBlocks and adding custom icons.
- 24:00 Explanation of interpolation tweeners and their effects on transitions between keyframes.
- 26:00 Adjusting pose controls and using TCB tweeners for curved transitions.
- 28:00 Exploration of the GoFigure graph editor and its advanced tweener for aniBlocks.
- 30:00 Introduction to using custom dials and clearing animations in AniMate 2.
- 32:00 Selection of different aniBlocks and adjusting auto adjust settings for aniBlocks.
- 34:00 Utilization of guides in aniBlocks for alignment and visual reference.
- 36:00 Making changes to character poses within the AniMate 2 workflow and creating levels.
- 38:00 Demonstration of adding and removing keyframes at specific points in an animation.
- 40:00 Showcase of GoFigure’s addition of animation level editing in AniMate 2.
- 42:00 Introduction to the graph editor and its capabilities in manipulating animations.
- 44:00 Discussion on using animations for different characters and splitting aniBlocks.
- 46:00 Explanation of cropping aniBlocks to create separate entities and their repetition.
- 48:00 Combination of different aniBlocks and using face controls for animation.
- 50:00 Demonstration of adjusting motion paths for specific body parts using tool settings.
- 52:00 Challenges of manipulating foot paths in animations for Genesis 8 figures.
- 54:00 Exploration of different animation techniques and the use of motion paths in dance animations.
- 56:00 Addressing questions on aniBlocks’ frame rate compatibility and their effect on animations.
- 58:00 Adjusting animation direction using aniBlocks and creating custom animations for specific scenarios.
- Video Part2 : 2 hours and 3 minutes (.MP4)
- 00:00 Introduction to the session focusing on Mixamo animations and their integration with DAZ Studio and AniMate 2.
- 00:02 Discussion on the limitations of using newer DAZ figures with Mixamo and a solution using Mixamo retarget rig for Genesis 9.
- 00:04 Explanation of exporting Genesis 2 female as FBX for Mixamo and setting up the character for animation.
- 00:06 Process of exporting the character from DAZ Studio and importing into Mixamo for rigging and animation.
- 00:08 Demonstration of applying Mixamo animations to the character and adjusting settings for different effects.
- 00:10 Discussion on downloading animations from Mixamo and the importance of the FBX format for compatibility.
- 00:12 Process of importing downloaded Mixamo animations into DAZ Studio and adjusting for AniMate 2 use.
- 00:14 Saving Mixamo animations as pose presets in DAZ Studio and the necessity of using Body to Hip script for compatibility with AniMate 2.
- 00:16 Demonstration of the Body to Hip script’s impact on animations and how it enables integration with AniMate 2.
- 00:18 Techniques for using Bone Minion to adapt Mixamo animations for various DAZ figures.
- 00:20 Discussion on creating aniBlocks from saved pose presets and the role of AniMate 2 in enhancing animations.
- 00:22 Insight into the workflow of using Mixamo animations across different DAZ figures and the flexibility of Bone Minion.
- 00:24 Discussion on the value of AniMate 2 for professional animation translations and showcasing different animation works.
- 00:26 Demonstration of applying a walk cycle animation to characters and baking to studio keyframes for further editing.
- 00:28 Techniques for tweaking animations in DAZ Studio, focusing on hand positioning and using LimbStick.
- 00:30 Process of creating hand-to-hand interaction between characters and enhancing animation details.
- 00:32 Techniques for using Bone Minion and LimbStick for precise control over character limb movements.
- 00:34 Discussion on the ease and effectiveness of using LimbStick for animating character interactions.
- 00:36 Showcase of completed character animations, including laughing and talking sequences, and use of low-res background characters.
- 00:38 Techniques for creating nuanced character expressions using HD expressions and face controls.
- 00:40 Explanation of baking keyframes in AniMate 2 and its significance in animation workflow.
- 00:42 Discussion on the power of AniMate 2 in animation and its advantages over traditional keyframe editing in DAZ Studio.
- 00:44 Insights into the use of cubic interpolation in AniMate 2 for smoother animation transitions.
- 00:46 Techniques for using cubic interpolation and adding keyframes for specific animation effects in AniMate 2.
- 00:48 Discussion on the flexibility of AniMate 2 in creating dynamic animations and the benefits of using its graph editor.
- 00:50 Techniques for creating and editing animations in DAZ Studio’s timeline and the role of different tweeners.
- 00:52 Insights into the complexity of Bezier curves in animation and the advantages of cubic interpolation in AniMate 2.
- 00:54 Techniques for effectively using the graph editor in DAZ Studio for detailed animation control.
- 00:56 Discussion on the importance of rendering settings for animations and the use of shadow capture in creating realistic scenes.
- 00:58 Demonstration of using Catcher Plus and IRAE reflections to enhance scene realism in animations.
- 01:00 Introduction to Iray’s reflections and shader properties, including blur and reflectivity adjustments.
- 01:02 Exploration of Iray’s various functions, such as tweaking reflection and blur for different effects.
- 01:04 Demonstration of setting up a spotlight in DAZ Studio and exploring its reflective capabilities.
- 01:06 Techniques for using spotlights and emissive surfaces to enhance reflections in animations.
- 01:08 Discussion on the use of HDRI for character renders in DAZ Studio.
- 01:10 Techniques for creating and rendering scenes with minimal settings, emphasizing the importance of scene
- setup for animators.
- 01:12 Showcase of different scenes created for animations, explaining the use of urban environments and their
- integration.
- 01:14 Techniques for adjusting camera angles and settings to match animation movements and character positioning.
- 01:16 Exploration of iReal series products for animators, focusing on the ease of adding and adjusting aniBlocks.
- 01:18 Demonstration of the Iray Sun Sky feature and its impact on animation realism.
- 01:20 Showcase of animated trees and birds from the iReal series, emphasizing the addition of motion for realism.
- 01:22 Discussion on the power of Animate 2 in speeding up, reversing, and modifying animations for different purposes.
- 01:24 Techniques for using Animate 2 in creating dynamic and realistic animations, including the use of partial aniBlocks.
- 01:26 Demonstration of Lin’s Animate Four Wheeler template system and its application in vehicle animations.
- 01:28 Exploration of various vehicle animations using the template system, focusing on realistic physics and movement.
- 01:30 Techniques for camera placement and movement to enhance the presentation of vehicle animations.
- 01:32 Discussion on the realistic portrayal of vehicle physics and motion in animations.
- 01:34 Showcase of different camera angles and their impact on the perception of vehicle animations.
- 01:36 Exploration of various motion patterns and car chase sequences using Animate 2 and the Four Wheeler template.
- 01:38 Techniques for setting up vehicle animations and adjusting camera settings for dynamic scenes.
- 01:40 Discussion on the use of partial aniBlocks and their application in character animations.
- 01:42 Techniques for customizing character movements using partial aniBlocks, focusing on specific body parts.
- 01:44 Exploration of various animation adjustments using Animate 2, including mirror and reversal functions.
- 01:46 Showcase of the flexibility and power of partial aniBlocks in altering and enhancing animations.
- 01:48 Techniques for breathing life into character animations using partial aniBlocks and custom adjustments.
- 01:50 Discussion on the differences between limited and extended override options in Animate 2.
- 01:52 Exploration of the use of aniBlocks for specific character movements, focusing on head and arm motions.
- 01:54 Techniques for creating custom animations using Animate 2’s keyframe and aniBlock tools.
- 01:56 Showcase of the versatility of Animate 2 in creating dynamic and nuanced character animations.
- 01:58 Discussion on rendering settings for animations and the balance between quality and performance.
- 02:00 Exploration of legacy aniBlocks and their use in modern animations, emphasizing the value of older motion capture technology.
- 02:02 Techniques for using Bone Minion and Icon Creator Pro in animation workflows, highlighting their utility in pose conversion and animation adaptation.
- Bonus Video 1 – Convert Entire V4 Walk Construction Kit by GoFigure : 51 minutes (.MP4)
- 00:00 Introduction to converting GoFigure’s walk construction kit for Victoria 4 using Genesis 8 and the application of bone minion.
- 00:02 Discussion on transferring poses from Victoria 4 to Genesis 8 and disabling Rosie’s limits using a script within Bone Minions.
- 00:04 Application of connectors from the walk construction kit to a bone minion and dealing with aniBlocks smaller than one second.
- 00:06 Manual setting of the time range in the timeline to accommodate short aniBlocks and ensuring all frames play through in Animate 2.
- 00:08 Creation of a one-second aniBlock, cropping to eliminate excessive keyframes, and saving the new aniBlock.
- 00:10 Clearing residual data from the timeline and preparation for adding the next aniBlock.
- 00:12 Adjusting the total frames in the timeline for the next aniBlock and ensuring correct playback.
- 00:14 Process of creating and saving new aniBlocks, emphasizing the importance of cropping shorter motions.
- 00:16 Clearing animation data from the timeline and adding another aniBlock, adjusting the total frame count for consistency.
- 00:18 Real-time playback of data transfer using Bone Minion and speeding up the transfer time during the video for efficiency.
- 00:20 Renaming aniBlocks for clarity and consistently clearing animation data after each addition.
- 00:22 Speeding up the transfer of data in real time and ensuring the correct number of frames in the timeline.
- 00:24 Creating new aniBlocks for various animations, focusing on the turnaround movements and their mirroring.
- 00:26 Renaming aniBlocks for consistency and ensuring a systematic approach to adding and saving aniBlocks.
00:28 Clearing animation and figure pose data after each aniBlock addition, preparing for the next category of aniBlocks. - 00:30 Fast-forwarding the transfer process and discussing the methodical approach to handling aniBlocks.
- 00:31 Introduction to modifying base animations in AniMate2, emphasizing the importance of having previews of animations in the library for efficiency and the use of anti blocks.
- 00:33 Explanation of the need to frequently purge memory to prevent issues during animation sessions and continuation of the animation process.
- 00:35 Discussing the process of converting animations to different characters and mirroring them, noting the convenience of having both right and left versions for short animations.
- 00:37 Troubleshooting a duplicated frame issue, adjusting the total frame range, and creating new AniBlocks.
- 00:39 Enhancing workflow with collections of animations, the possibility of making mistakes, and the flexibility of correcting them by creating new AniBlocks.
- 00:41 The benefits of a nonlinear animation workflow in DAZ Studio, highlighting the ease and fun of the process, and the reality of sometimes discarding rendered animations.
- 00:43 The rationale behind not correcting collections immediately and keeping the raw data intact for later use for different purposes.
- 00:45 Finalizing the animation collection, addressing minor viewport glitches, and the importance of keeping the software’s capabilities in perspective.
- 00:47 Completing the last animations in the collection, discussing naming conventions, and saving the new AniBlocks.
- 00:49 Organizing the completed walk construction kit folder, troubleshooting missing folders, and the usefulness of having previews in the library.
- 00:51 Announcing a bonus for the webinar attendees: creating icons for all the AniBlocks made during the session and closing remarks.
- Bonus Video 2 – IconCreatorPro for our new Walk Collection : 23 minutes (.MP4)
- 00:00 Introduction to creating icons for the construction kit using Mike D’s Icon Creator Pro, setting up camera angles, and adjusting render settings for iRay.
- 00:02 Adjusting the character’s expression to a smile for icon imagery and navigating to the Icon Creator Pro script for efficient access.
- 00:04 Customizing and applying presets in Icon Creator Pro for rendering icons, emphasizing the importance of appropriate icon size for AniBlocks.
- 00:06 Demonstrating the rapid process of creating icons for AniBlocks one by one, noting the efficiency of the Icon Creator Pro script.
- 00:08 Highlighting the flexibility of Icon Creator Pro, including the ability to add custom PNG files and icons for a personalized touch.
- 00:10 Adjusting camera angles for close-up icons and discussing the ease of the Icon Creator Pro utility, along with the available tutorial on the store page.
- 00:12 Creating icons for various directional movements and discussing the process of mirroring animations for icon creation.
- 00:14 Recommending users check out the tutorial for Icon Creator Pro and emphasizing the simplicity and enjoyment of using DAZ Studio.
- 00:16 Closing remarks for the session, expressing gratitude to the value of DAZ Studio’s tools and content store.
- 00:18 Reflecting on the extensive work that goes into DAZ 3D figures like Genesis 9 and appreciating the technological advancements with each new release.
- 00:20 A heartfelt thanks to DAZ 3D for their contributions to the industry and personal reflections on the journey from modeling and texturing to embracing DAZ Studio as the preferred tool for 3D art.
- Video note 1 on multiple start circles : 2 minutes (.MP4)
- -The AniMate2 plugin allows for the creation of multiple start circles to manage different animation clips within DAZ Studio. This note shows how to add and adjust start circles, including mirroring and unmirroring clips, to ensure characters enter and exit the screen correctly, which can be looped for continuous animation.
- Video note 2 on editing path splines : 3 minutes (.MP4)
- A note on editing path splines to enhance animations, demonstrated as a dynamic and iterative process to achieve a smooth path



Request to unfreeze file (404 Not Found)
You must be logged in to post a comment.